
From Kit to Bookshelf: How to Create Stunning Book Nook Miniatures
Thinking of buying your first book nook kit? Bought your first book nook or miniature kit and want to know what’s involved and what you’ll need? Here are 8 key tips to help you along the way…
1) Introduction to Book Nooks
What is a Book Nook?
Book nooks are delightful miniature scenes designed to sit between your books on a shelf, creating the illusion of a tiny, hidden world. Whether it's a mysterious alleyway, a whimsical forest, or a cozy bookshop scene, book nooks spark imagination and add character to any book collection. Originally gaining popularity through DIY communities, these miniatures have become a favourite among hobbyists, crafters and reading enthusiasts alike.
Why Use a Kit?
Building a book nook from scratch can be a rewarding challenge, but if you're just getting started or want a more structured approach, using a kit is the perfect solution. Kits come with pre-cut pieces, lighting, and detailed instructions, making it easy to assemble without the hassle of sourcing individual parts. Book nook kits guide you through the creative process step-by-step, allowing you to focus on the joy of building rather than figuring out what you are going to use.
2) Choosing the Right Kit
Types of Book Nook Kits
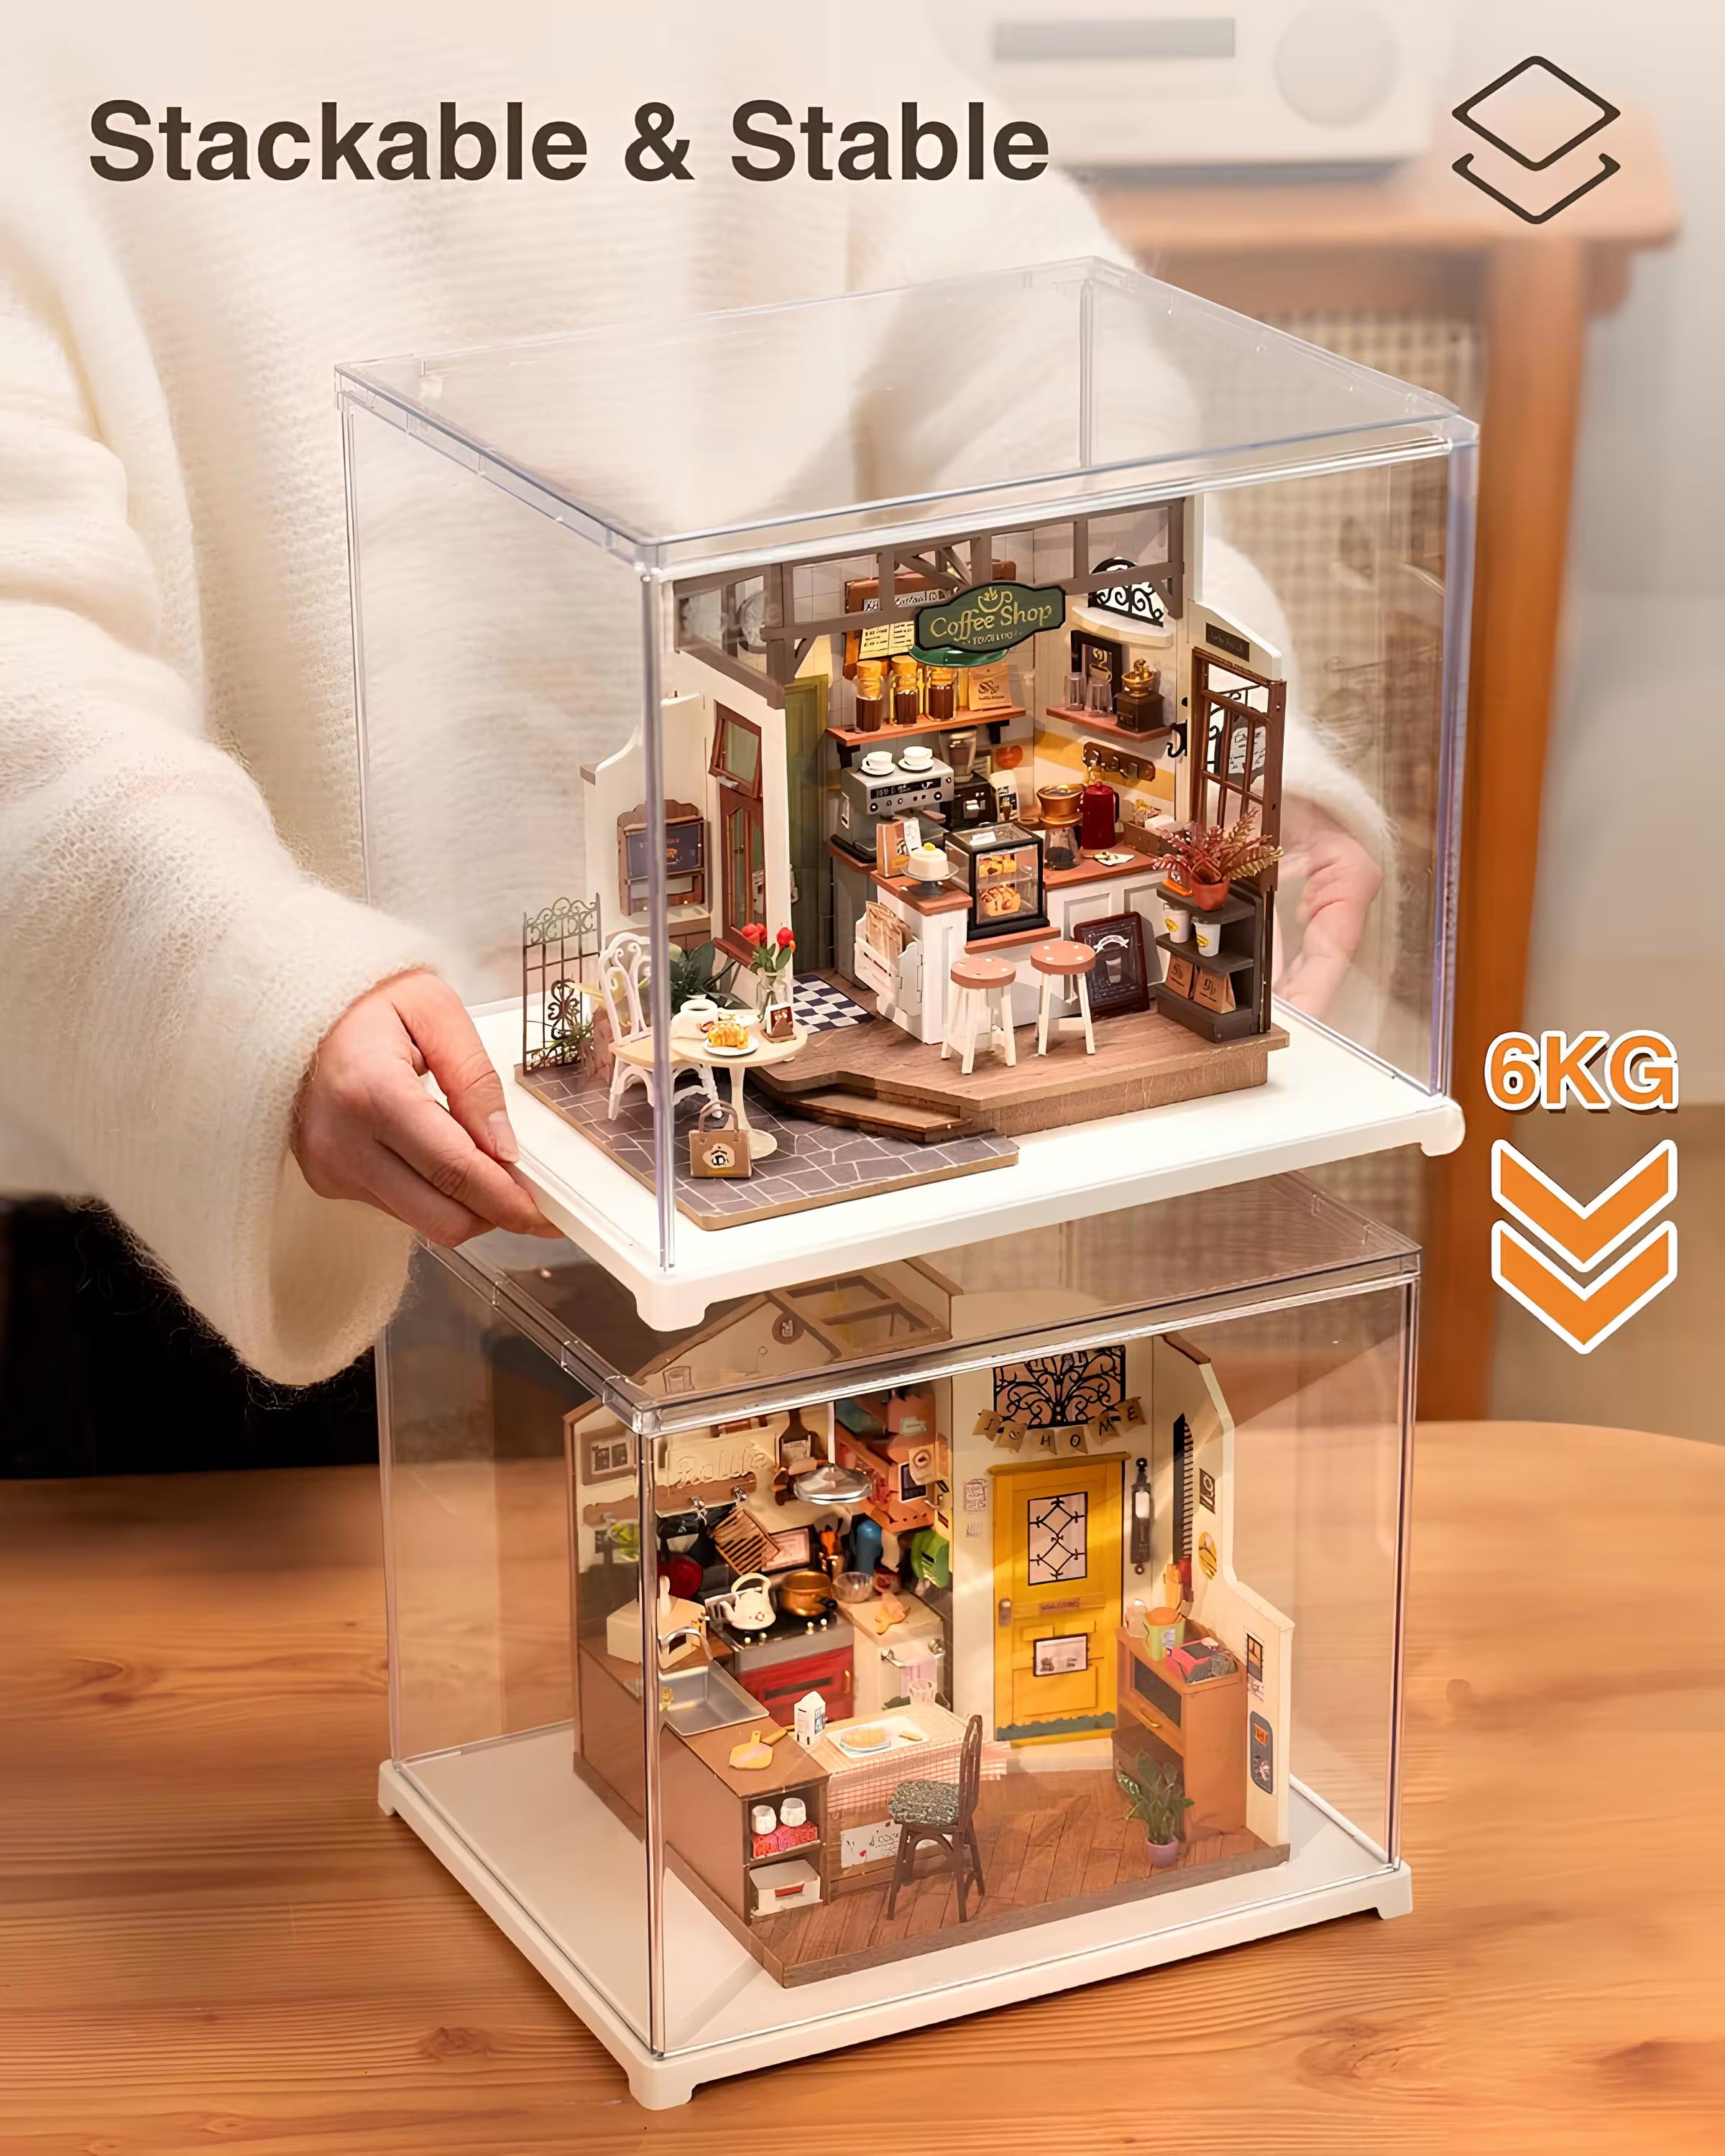
Book nook kits come in various themes and difficulty levels. If you're a beginner, you might want to start with something simple like one of our smaller model kits. These kits are still packed with detail, but take only around 1 hour to build. These are a great way to dip your toes into miniature building without committing too much time or money.


As you gain confidence, you can move on to more intricate designs with out larger model kits and book nooks. These sets come with LED lighting and more complex designs. Make sure to check the set description to see what you will need to build it as they can vary by the manufacturer. For example, some kits will come with stickers while others may have paper to glue on. Our product pages contain information on the number of pieces, the estimated time to build, and what components are included to help you choose the perfect one. If you have any questions about our products you are always welcome to contact us and we can help you find the best fit.
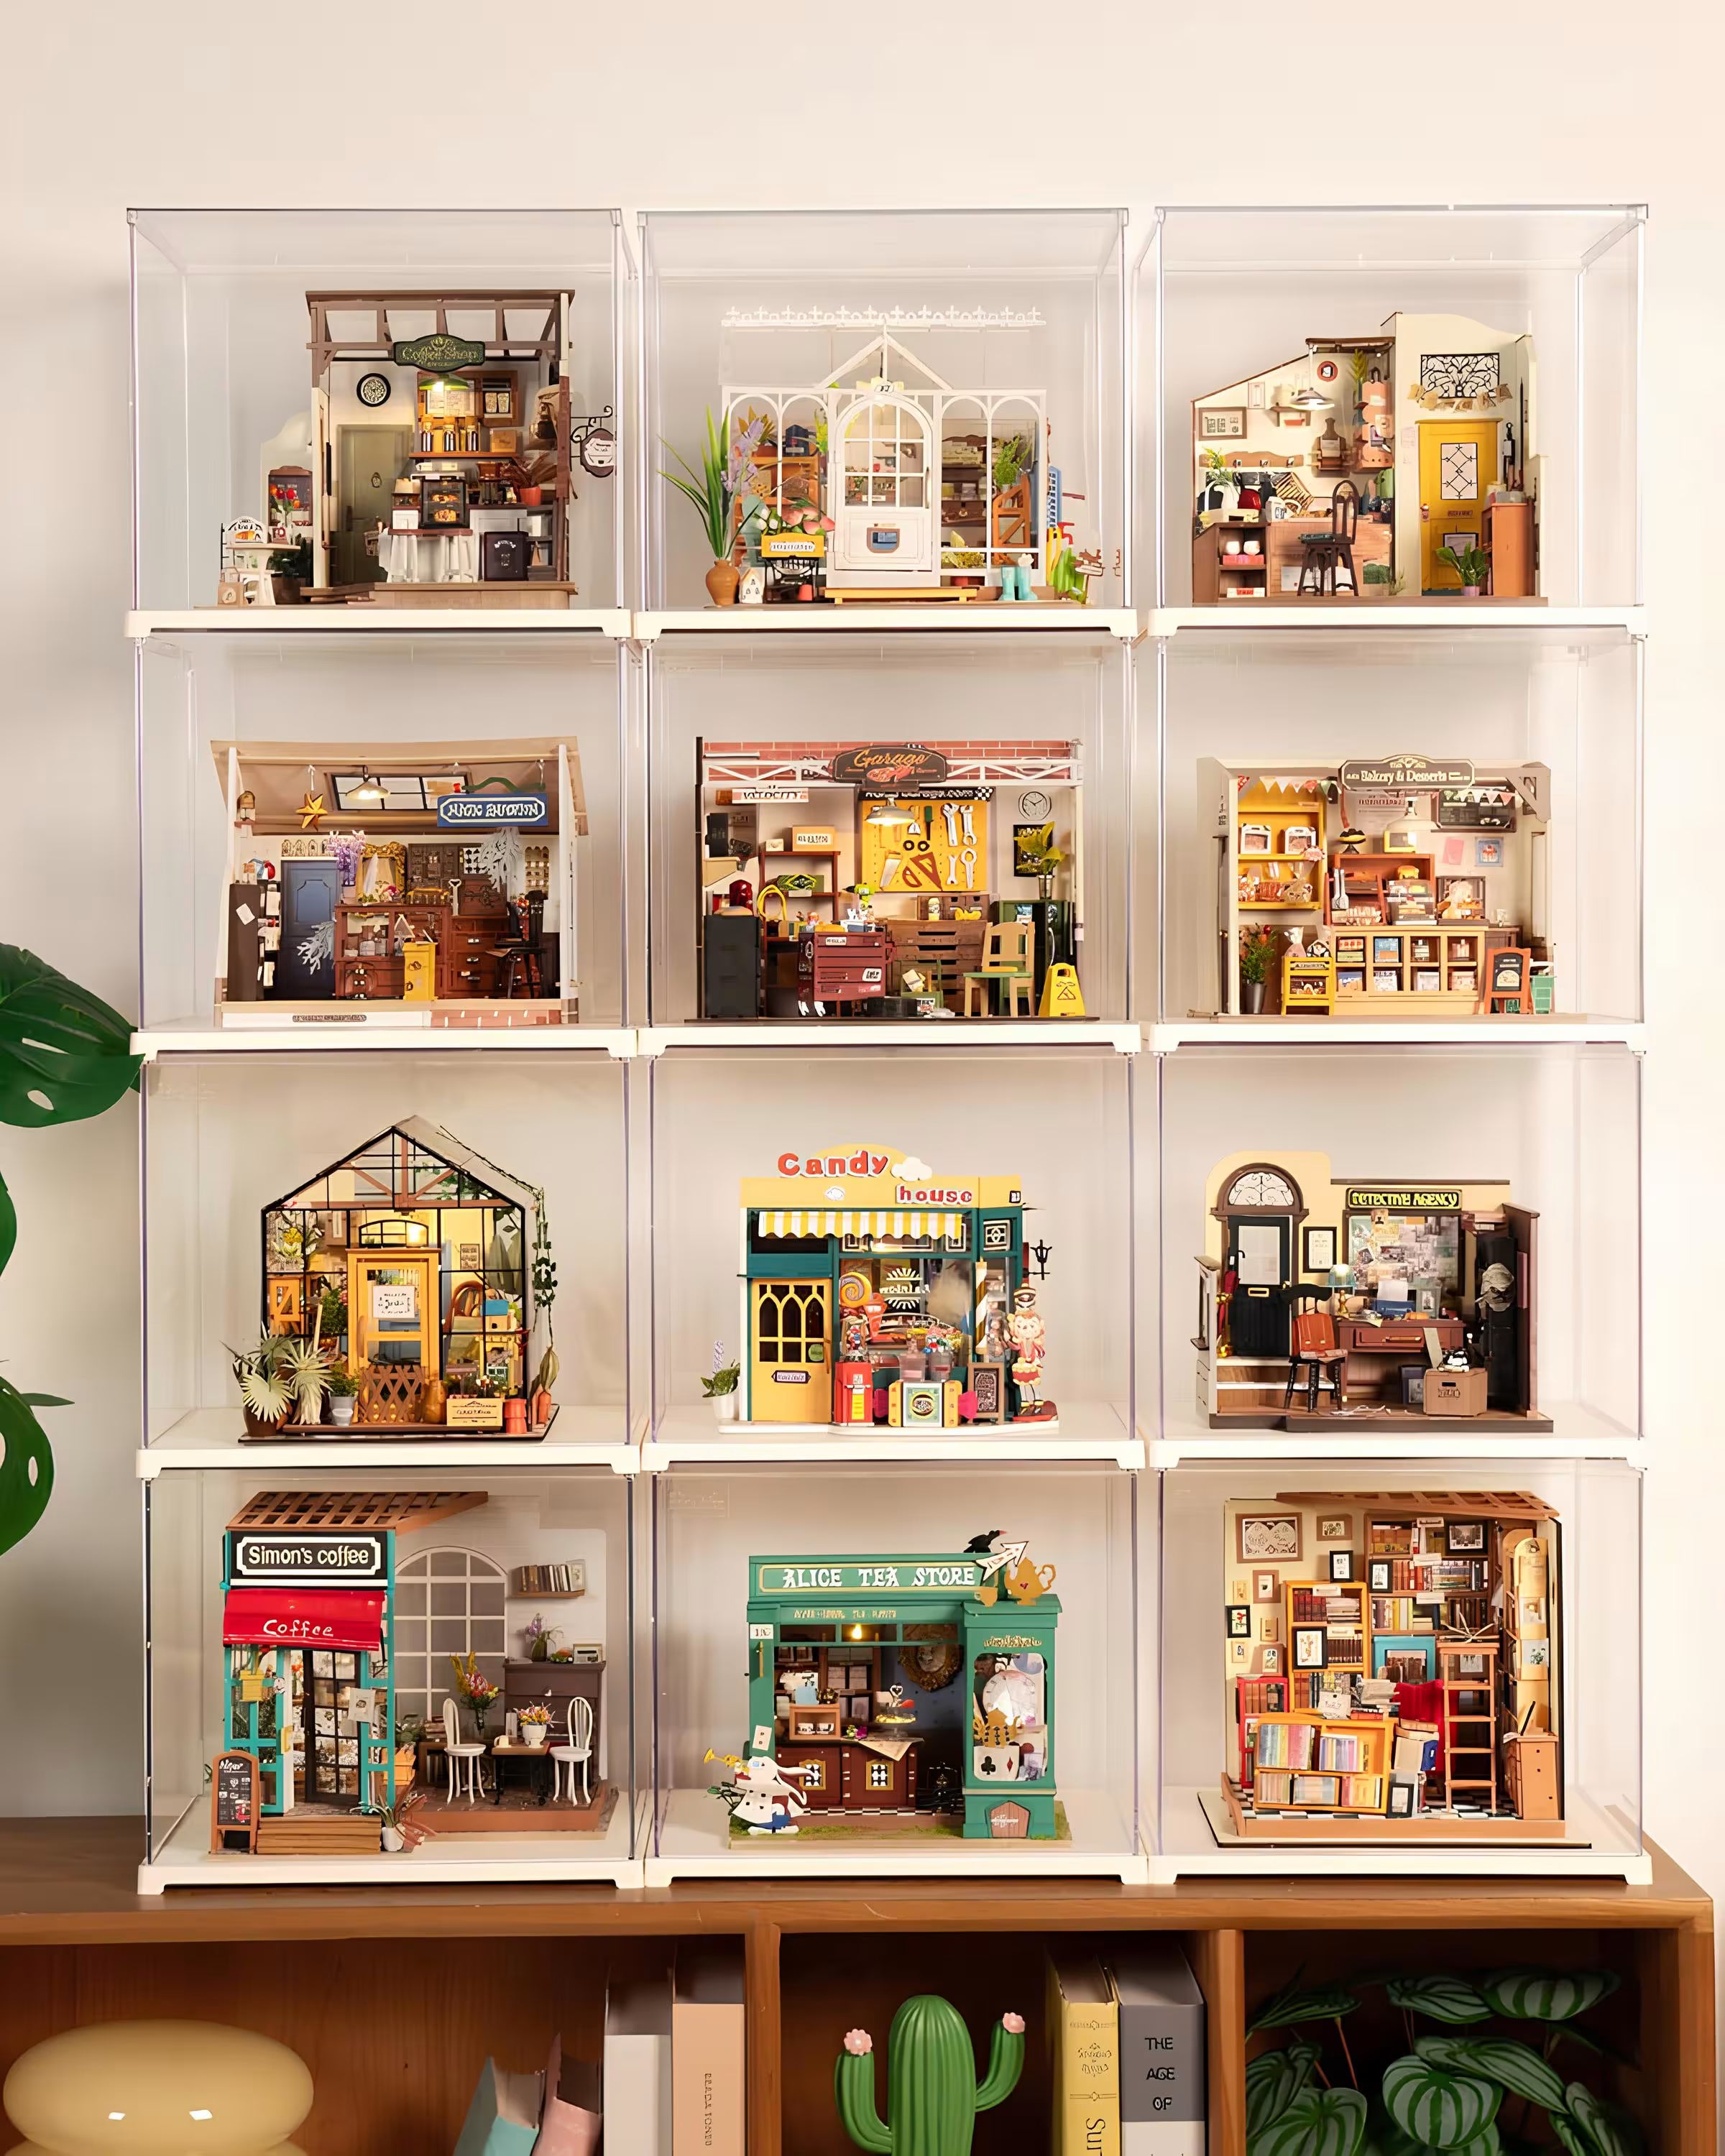
Have a look at our full range of book nooks


3) Essential Tools and Supplies
Tools Provided in the Kit
Book nook kits provide the essential parts, such as pre-cut wooden or plastic pieces, miniature furnishings, lighting, and step-by-step instructions. However, there are a few additional tools and supplies you’ll need to make the building process smoother and more enjoyable.
Additional Tools You’ll Need
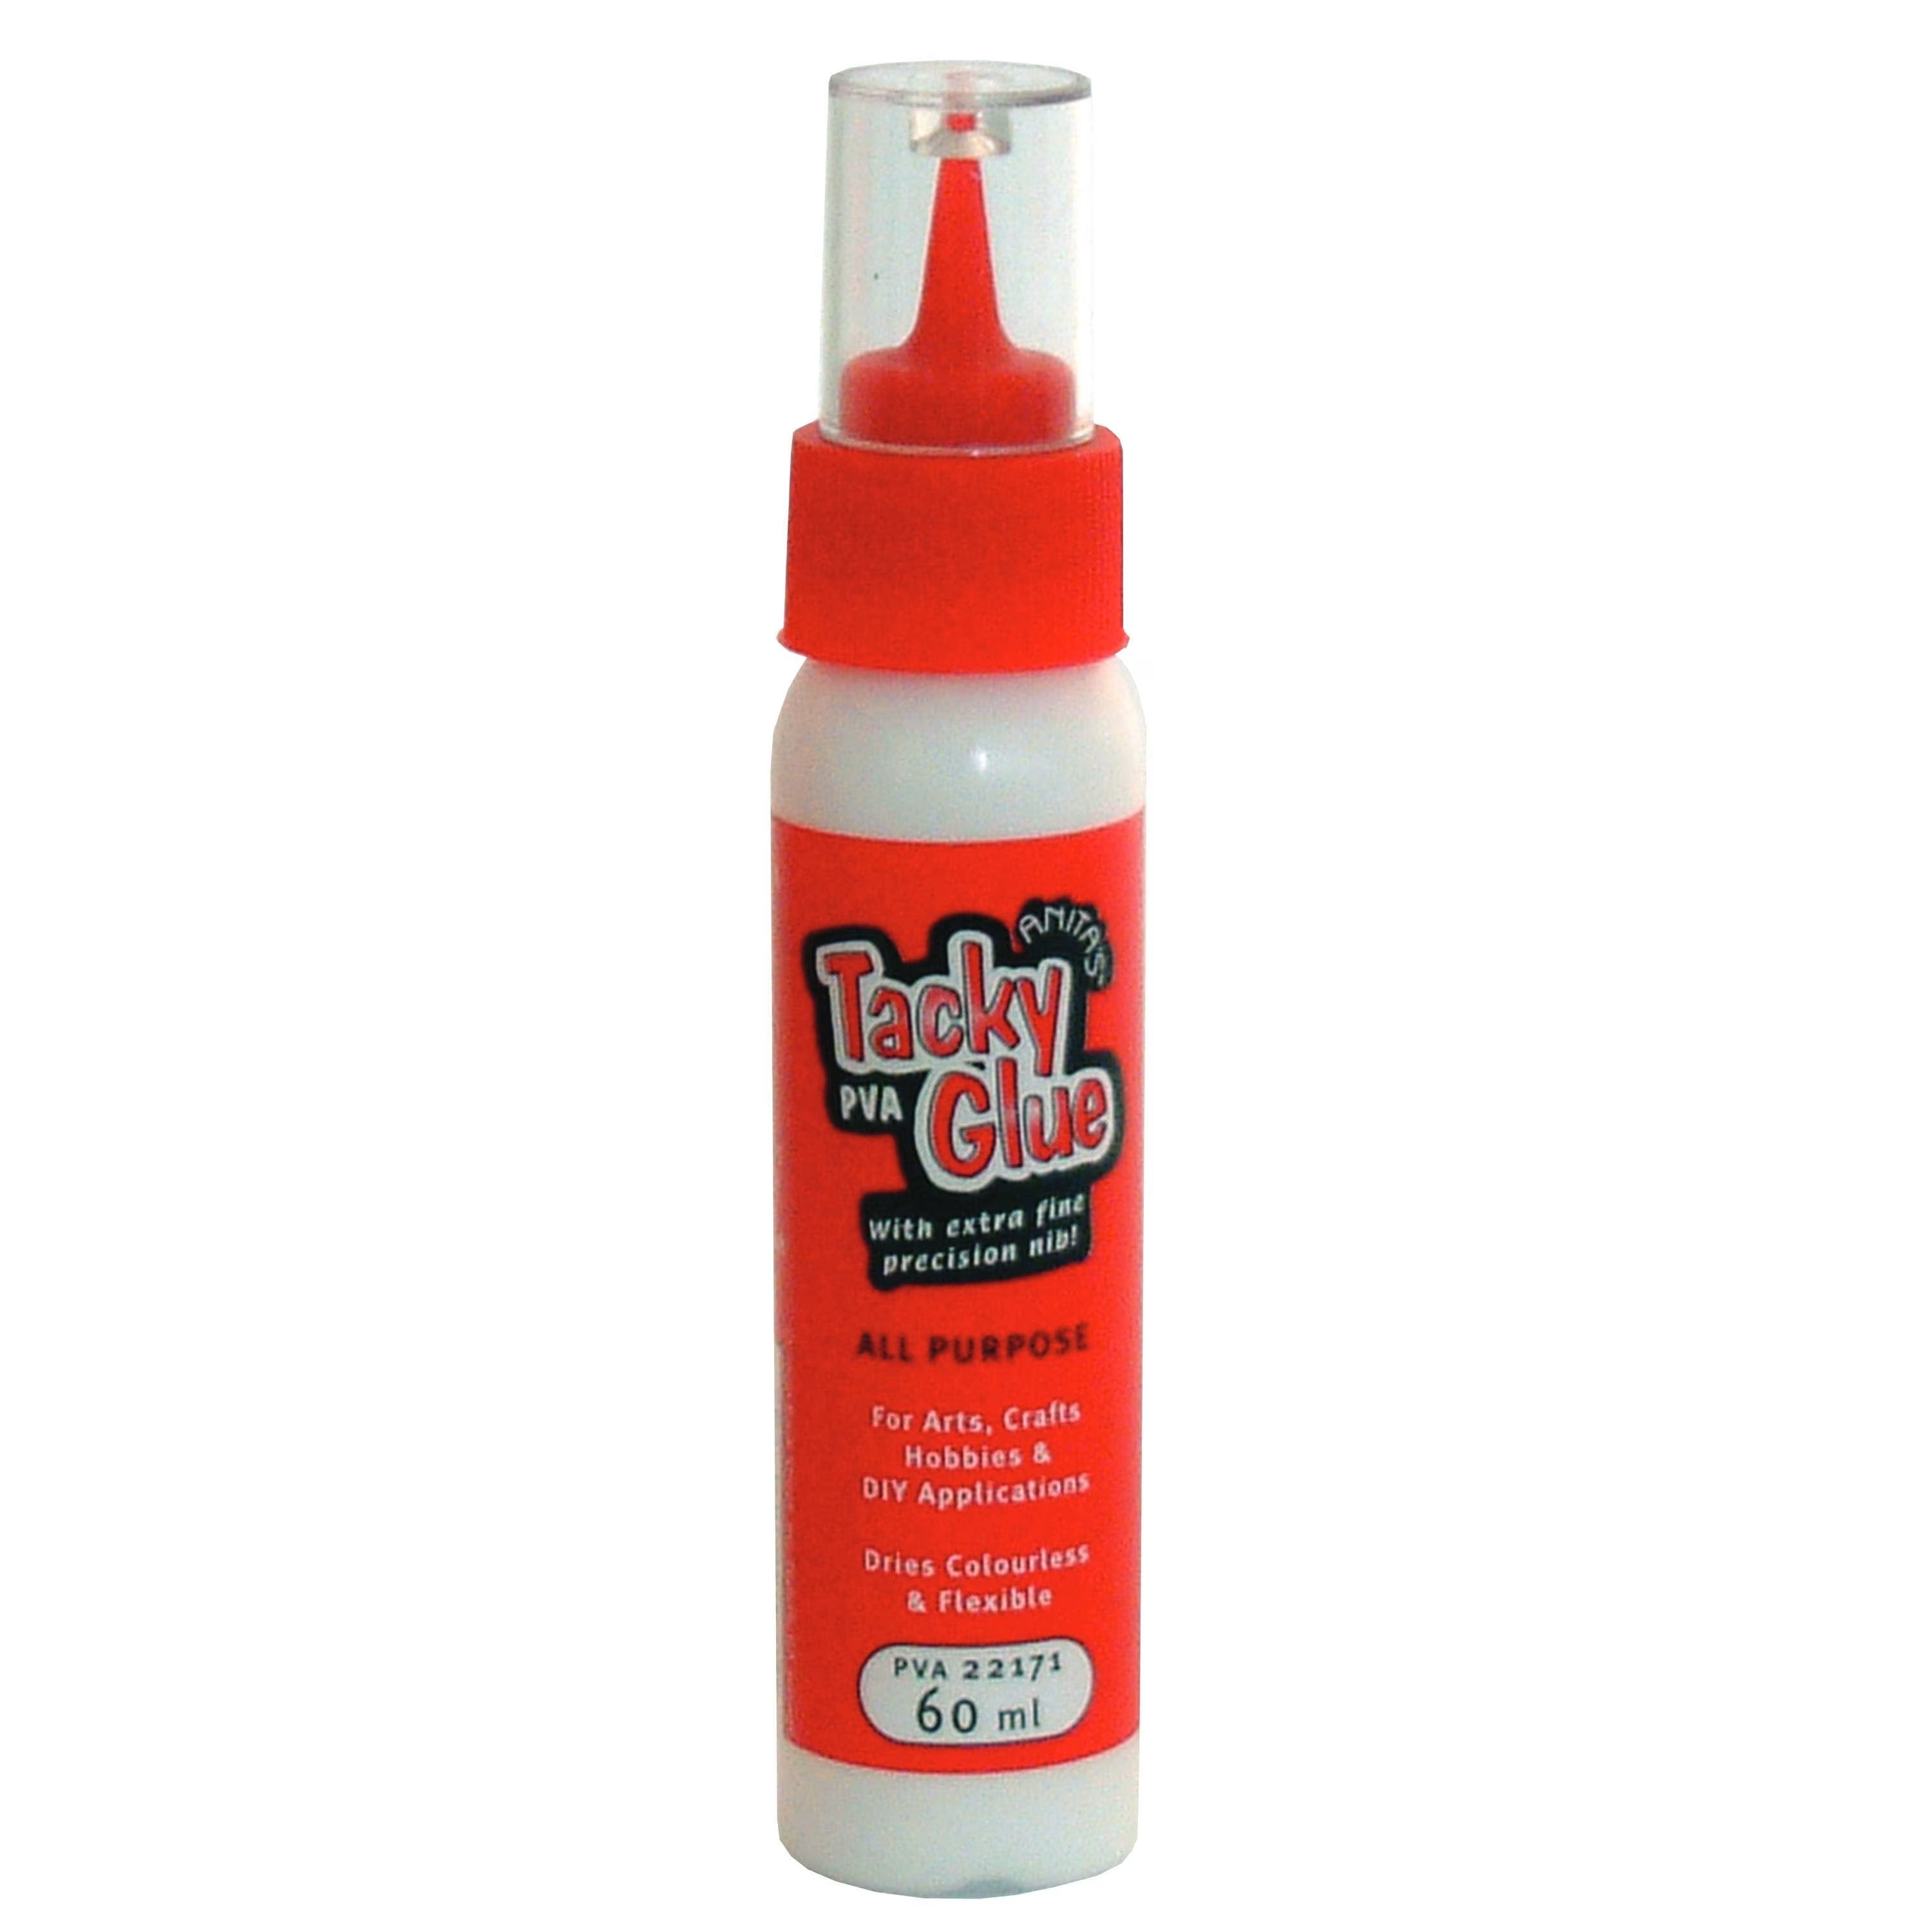
- Glue: Make sure you use strong craft glue and choose a tube of glue with a thin nozzle for perfect placement.
- Tweezers: Since many pieces are tiny and delicate, tweezers will help you handle them with precision.
- Stanley Knife: For any trimming or precise cutting needed during assembly.
- Cutting Mat: To protect your workspace when using sharp tools.
- Small clamps or bulldog clips: These can hold pieces in place while the glue dries. For example, when you are sticking the covers on books and holding them in place.
- Paint and Brushes: Kits come with wall decorations, but if you want to add your own touch, small brushes and acrylic paint can add details and unique character.
- Ruler and Pencil: To ensure accuracy and neatness while assembling.
4) Step-by-Step Assembly Guide
Preparing Your Workspace
Before diving in, set up a clean, organized workspace. It’s handy to cover your work surface with newspaper or cover to catch any drips of glue. Lay out all your kit pieces in the order you'll need them and keep your tools within easy reach. Having a well-organized space makes the assembly process smoother and more enjoyable.
Following the Instructions
Each kit will include detailed instructions, but the key to success is patience. It’s a good idea to start by carefully reading through the entire guide before you begin. This will give you a sense of the steps ahead. Click out the pre-cut pieces for each section. As you go, do a dry-fit of each piece before applying glue to ensure everything aligns properly.
Handling Tiny Parts
Tiny parts can be tricky to work with, but that’s where your tweezers come in handy. Use them to place delicate items, like window frames or miniature bookshelves and books, exactly where they need to go without smudging to much glue on your hands.
Working with Lighting
Many kits include LED lights to add a magical touch to your book nook. Follow the instructions carefully to wire them correctly and test the lights before sealing any parts of the structure. If your lights aren’t working, check for loose connections and make sure your battery is fully charged
5) Adding Personal Touches
Customizing Your Book Nook
While following the kit instructions is great, don’t be afraid to make the nook your own. Tie your book nook to a favourite book or story by adding themed decorations. You can customize your scene by adding extra paint, swapping out certain details, or even crafting additional elements like tiny books, furniture, or plants.
Little touches can make your nook feel like a truly personal creation.
6) Troubleshooting & Common Mistakes
It is only natural that you may encounter a few hiccups along the way while you are building. Maybe you have a piece that doesn't fit perfectly, or the glue doesn't hold as expected. Don’t worry—this is just part of the process! Here are the most common things you might need to fix:
- Pieces don’t fit properly: Pieces are pre-cut to the right size, but if any parts don’t fit together well for any reason you can gently sand the edges to smooth out any uneven areas. Fine-grade sandpaper works best for this.
- Fixing Broken Pieces: If you break a piece during assembly, glue it back together carefully. Use a toothpick to apply a tiny amount of glue to avoid overflow, then hold it in place until it bonds.
- Excess Glue: If you accidentally apply too much glue, use a cotton swab or toothpick to remove the excess before it dries.
- Glue Stains: Once dried, any glue stains can be gently scraped off with sharp knife or sanded down. Use clear-drying glue to make sure mistakes are less noticeable.
- Weak Bonds: If pieces aren’t sticking properly, allow extra time to dry with clamps in place or consider using a stronger adhesive like super glue or hot glue.
- Test the Lighting: Always test your lights before final assembly to save taking apart sections later. Ensure all wires are securely connected.
- Battery Check: Make sure the battery isn’t dead. Replace it if necessary, and check that the battery holder is properly connected.
Patience and Practice
Building a book nook takes time, especially if it’s your first one. Give yourself permission to make mistakes and learn from them. The key is to enjoy the process of creating something with your own hands.
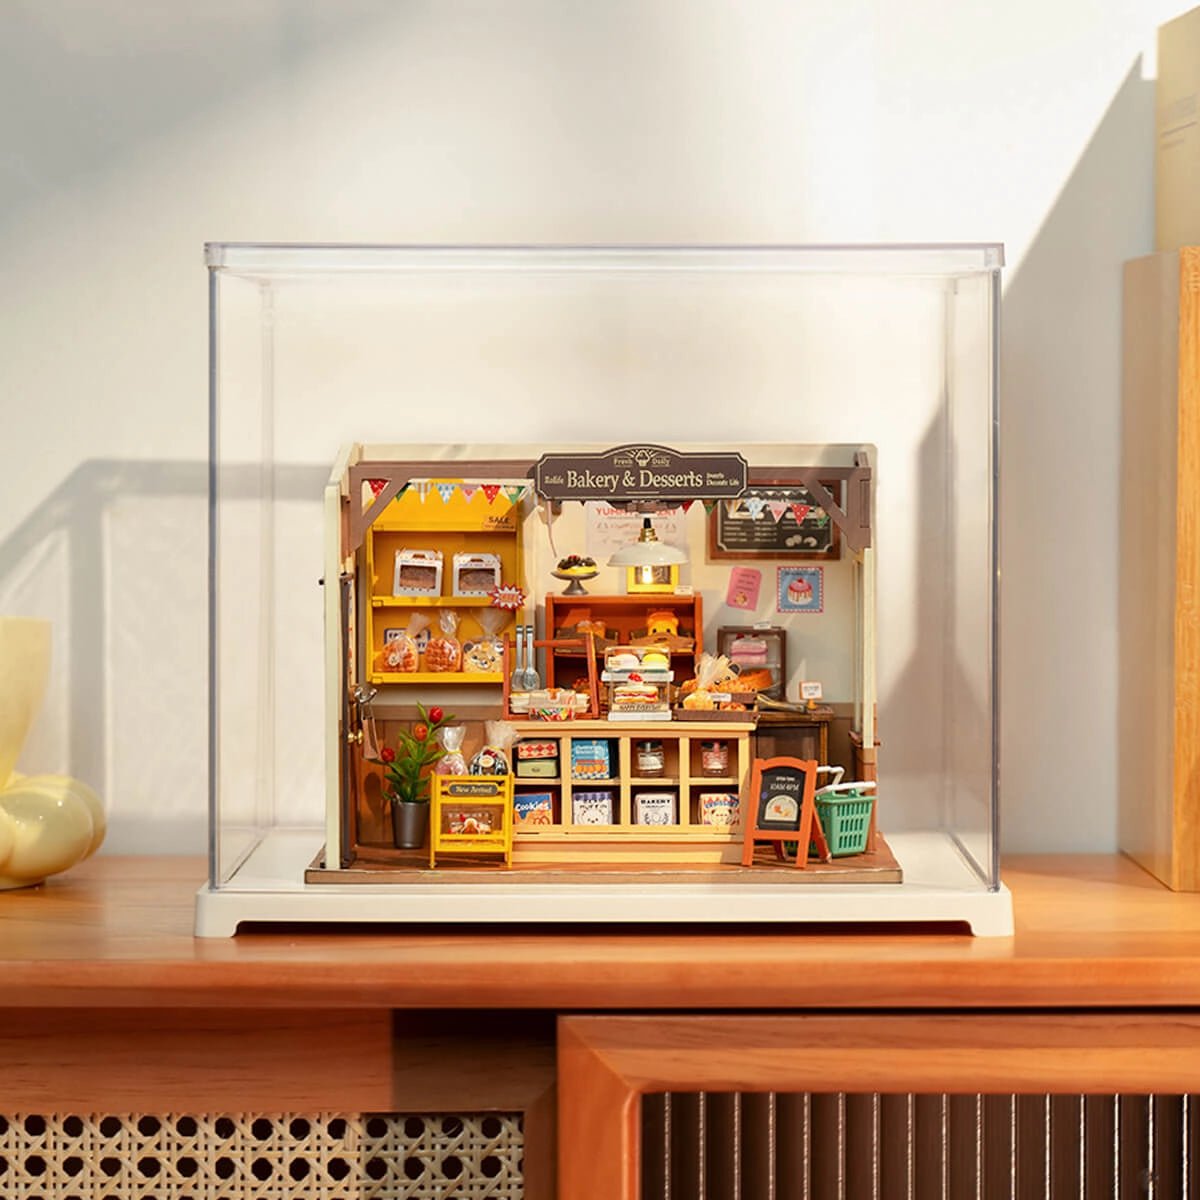
7) Displaying Your Finished Book Nook
Finding the Perfect Spot
Once your book nook is finished, it's time to show it off! Find the perfect spot on your bookshelf for your book nook to shine between some of your favourite novels and movies.
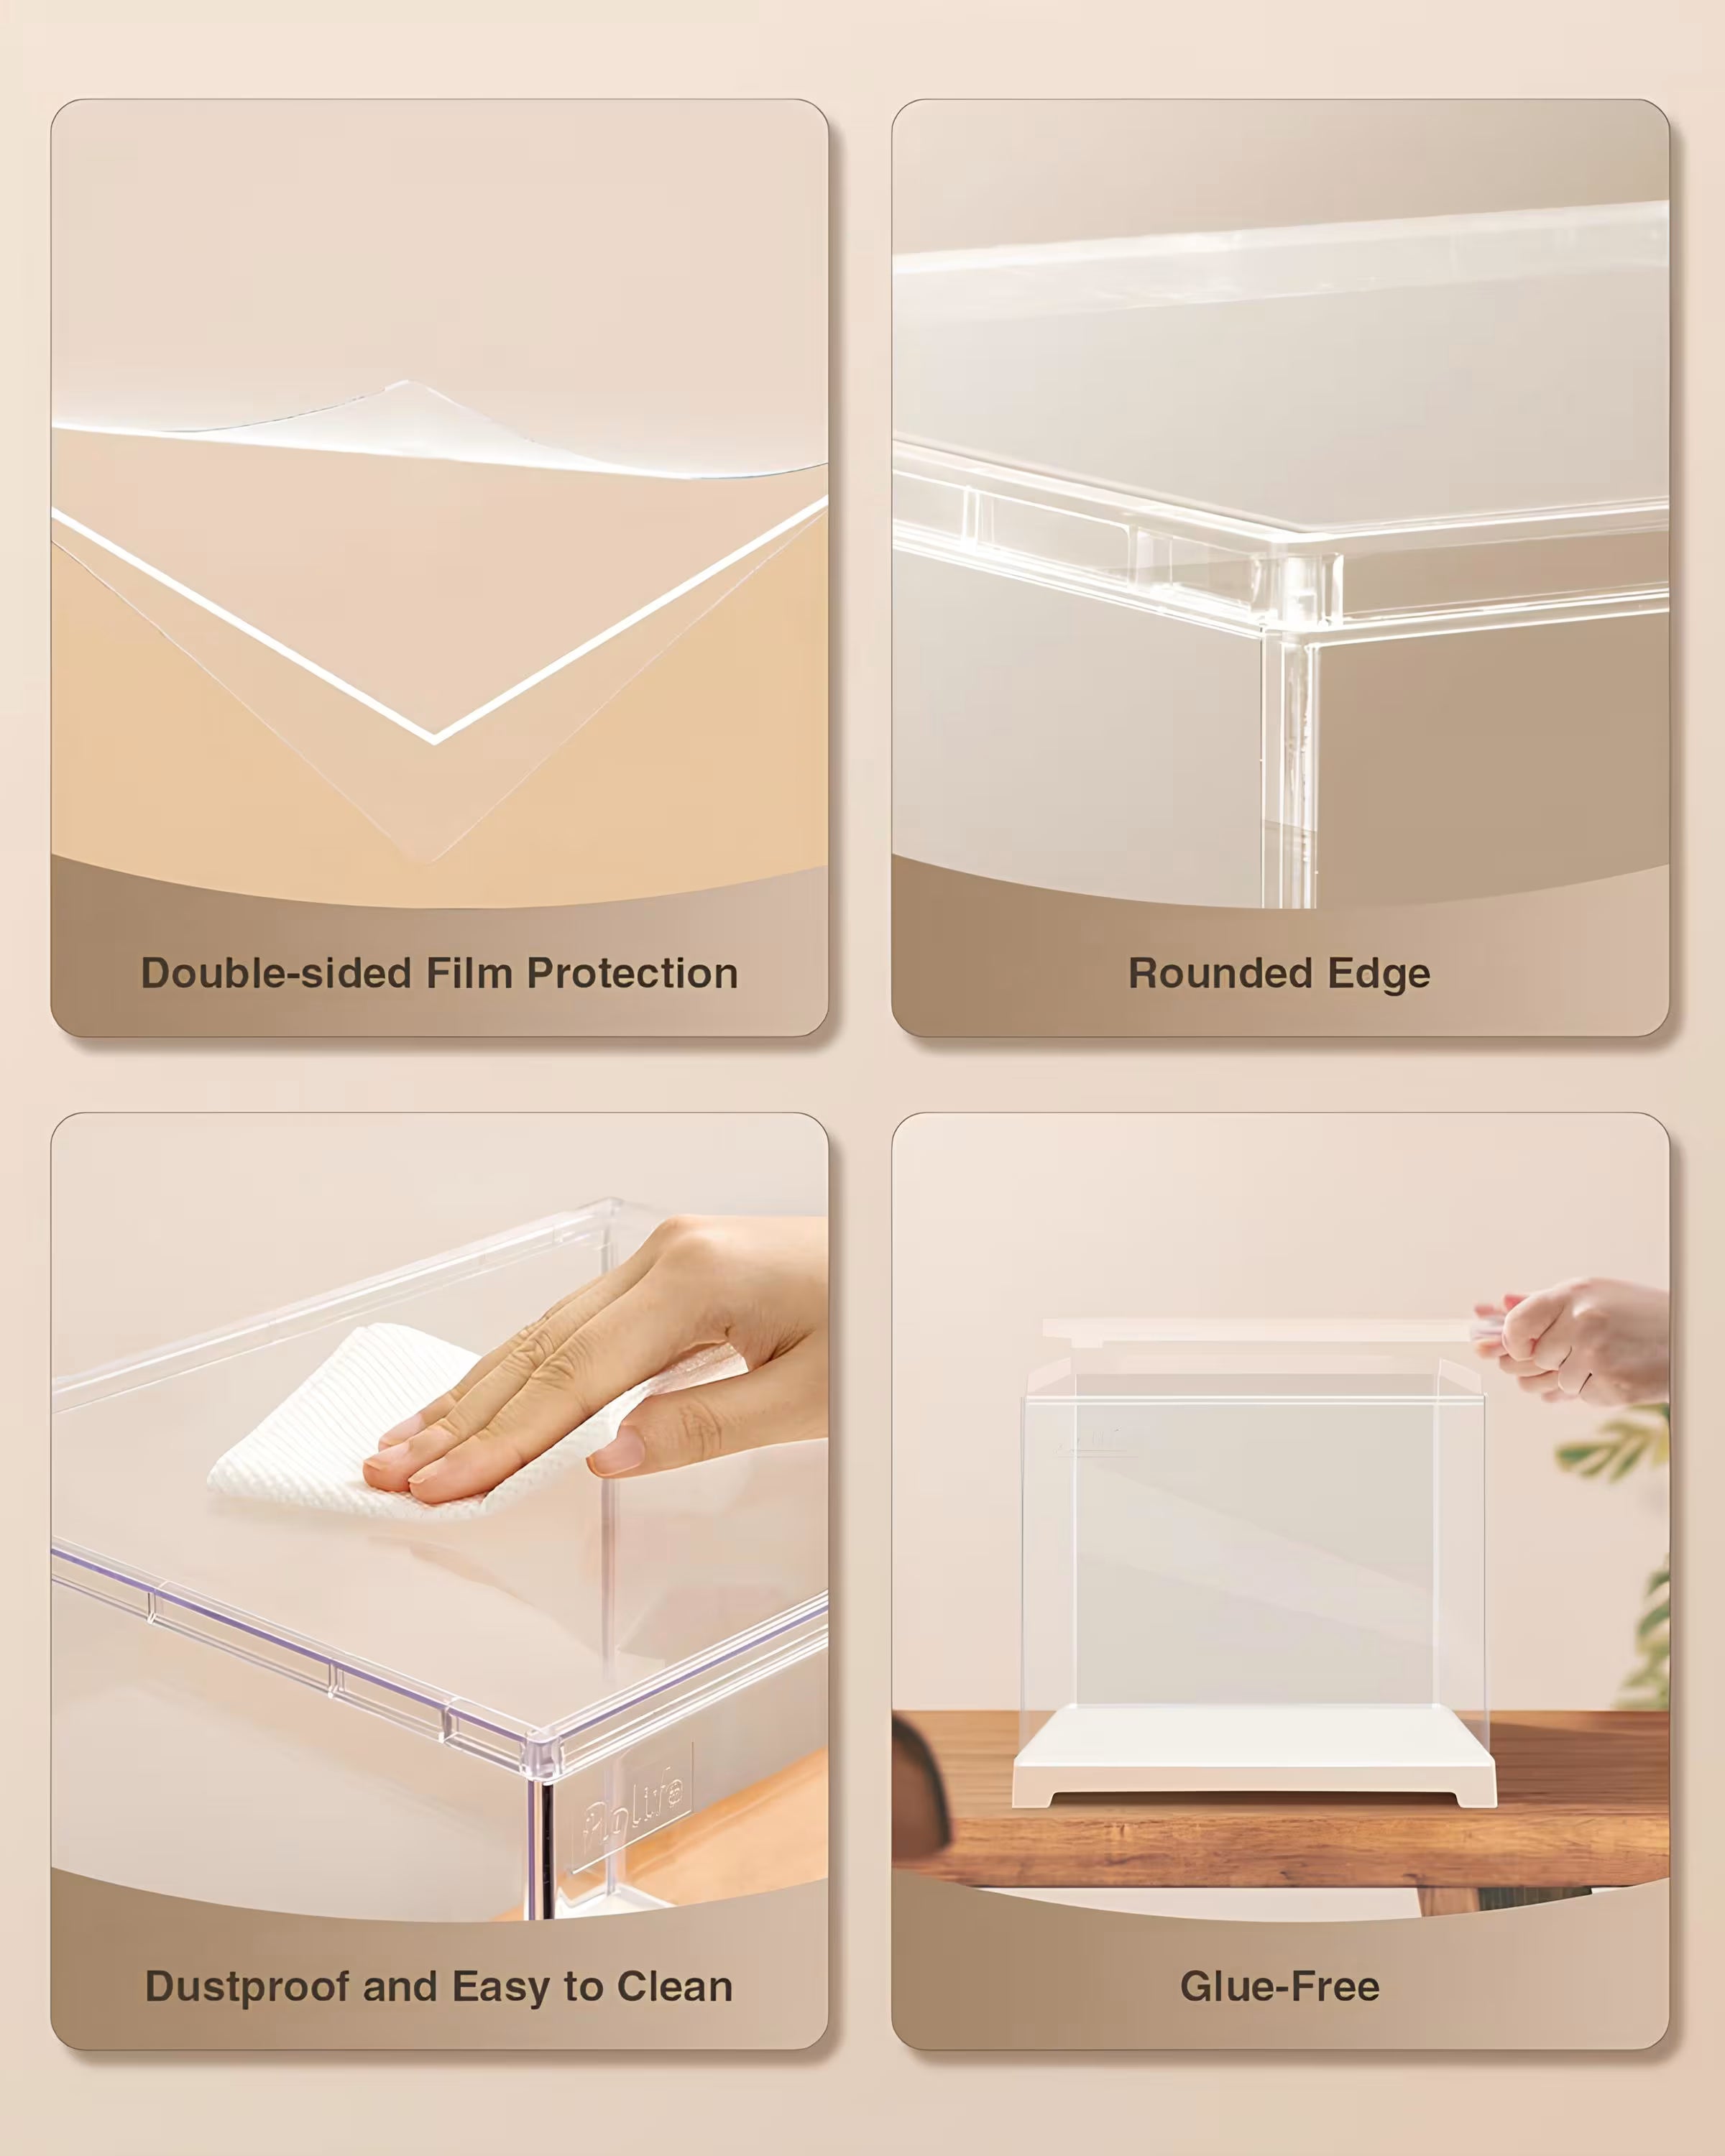
Maintenance Tips
To keep your book nook looking fresh, lightly dust it with a small brush or compressed air. If you’ve installed lights, periodically check the batteries and wiring to make sure everything’s working properly. Avoid direct sunlight to prevent colours from fading.
8) Where to Go Next
Expanding Your Miniature Building Skills
Now that you’ve completed your first book nook, why stop there? You can move on to more advanced kits with intricate designs or even create your own custom book nook from scratch. The possibilities are endless!
Sharing Your Creations
Share your finished project on social media using hashtags like #booknook or #miniatureworlds to join a community of fellow creators. You can find inspiration for future projects and see how others have personalized their book nooks. It’s a great way to connect and grow in your new hobby.
Check out our full range of inspirational book nooks. Carefully curated for you >