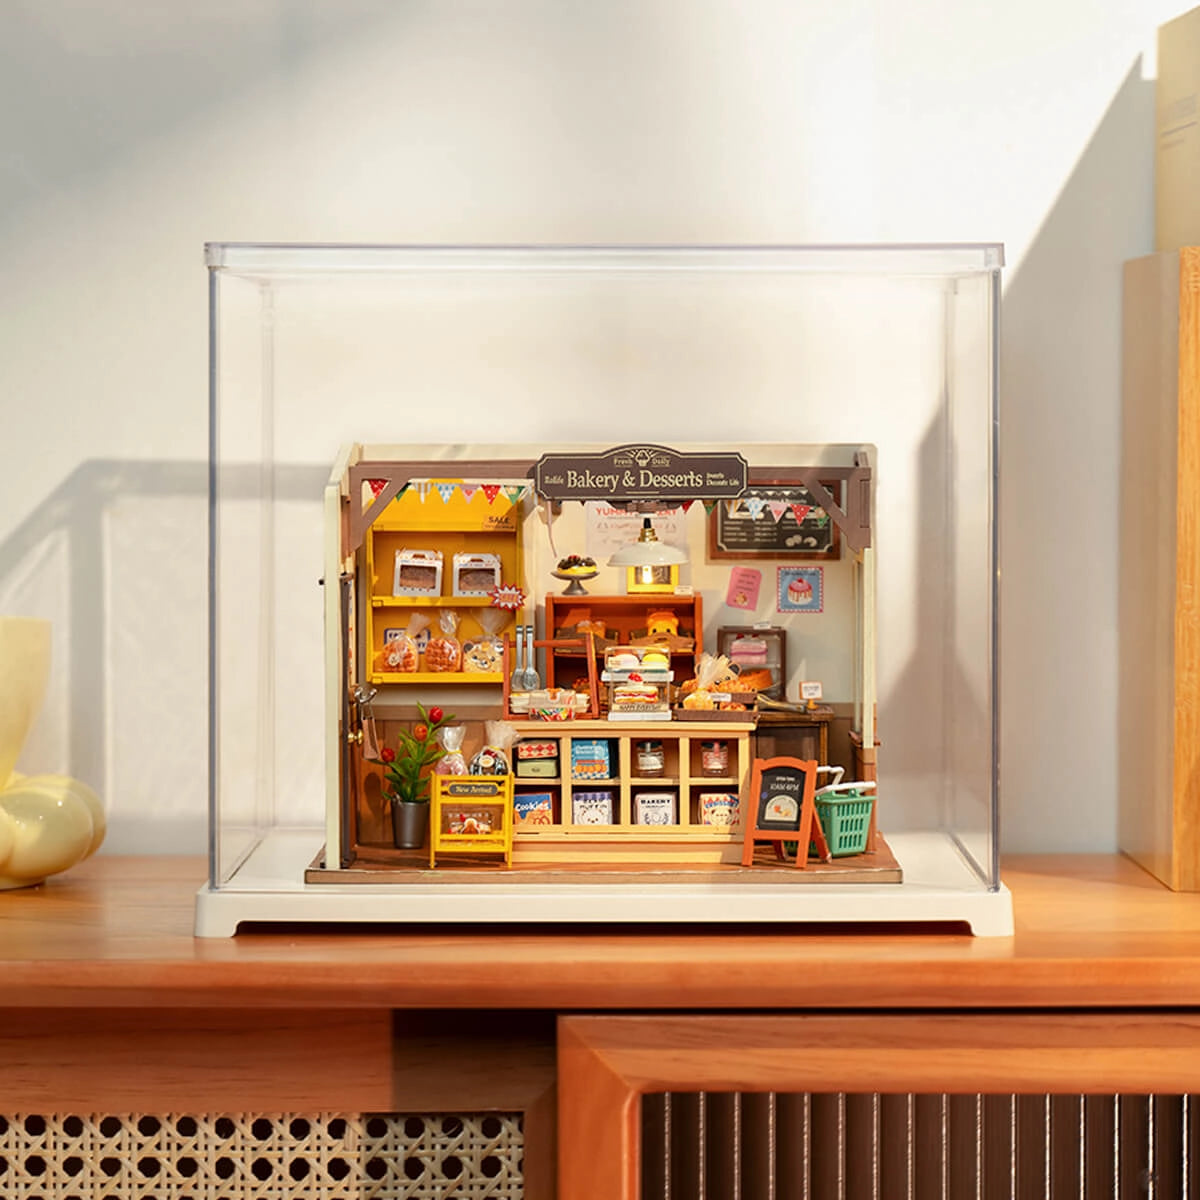
In this guide we will answer some common questions people have about assembling miniature kits and book nook kits and our expert builder will share some of their tips and tricks for having the most fun with your model.
Abi's Miniature Building Tips
Hi! I'm Abi (nice to meet you) and I have assembled every miniature kit and book nook kit on the website. Any miniatures or book nooks we use in our advertising were assembled by me, so I'm here to share some of my personal tips and answer common questions to help you get the most out of your kit.
Do I need my own tools?
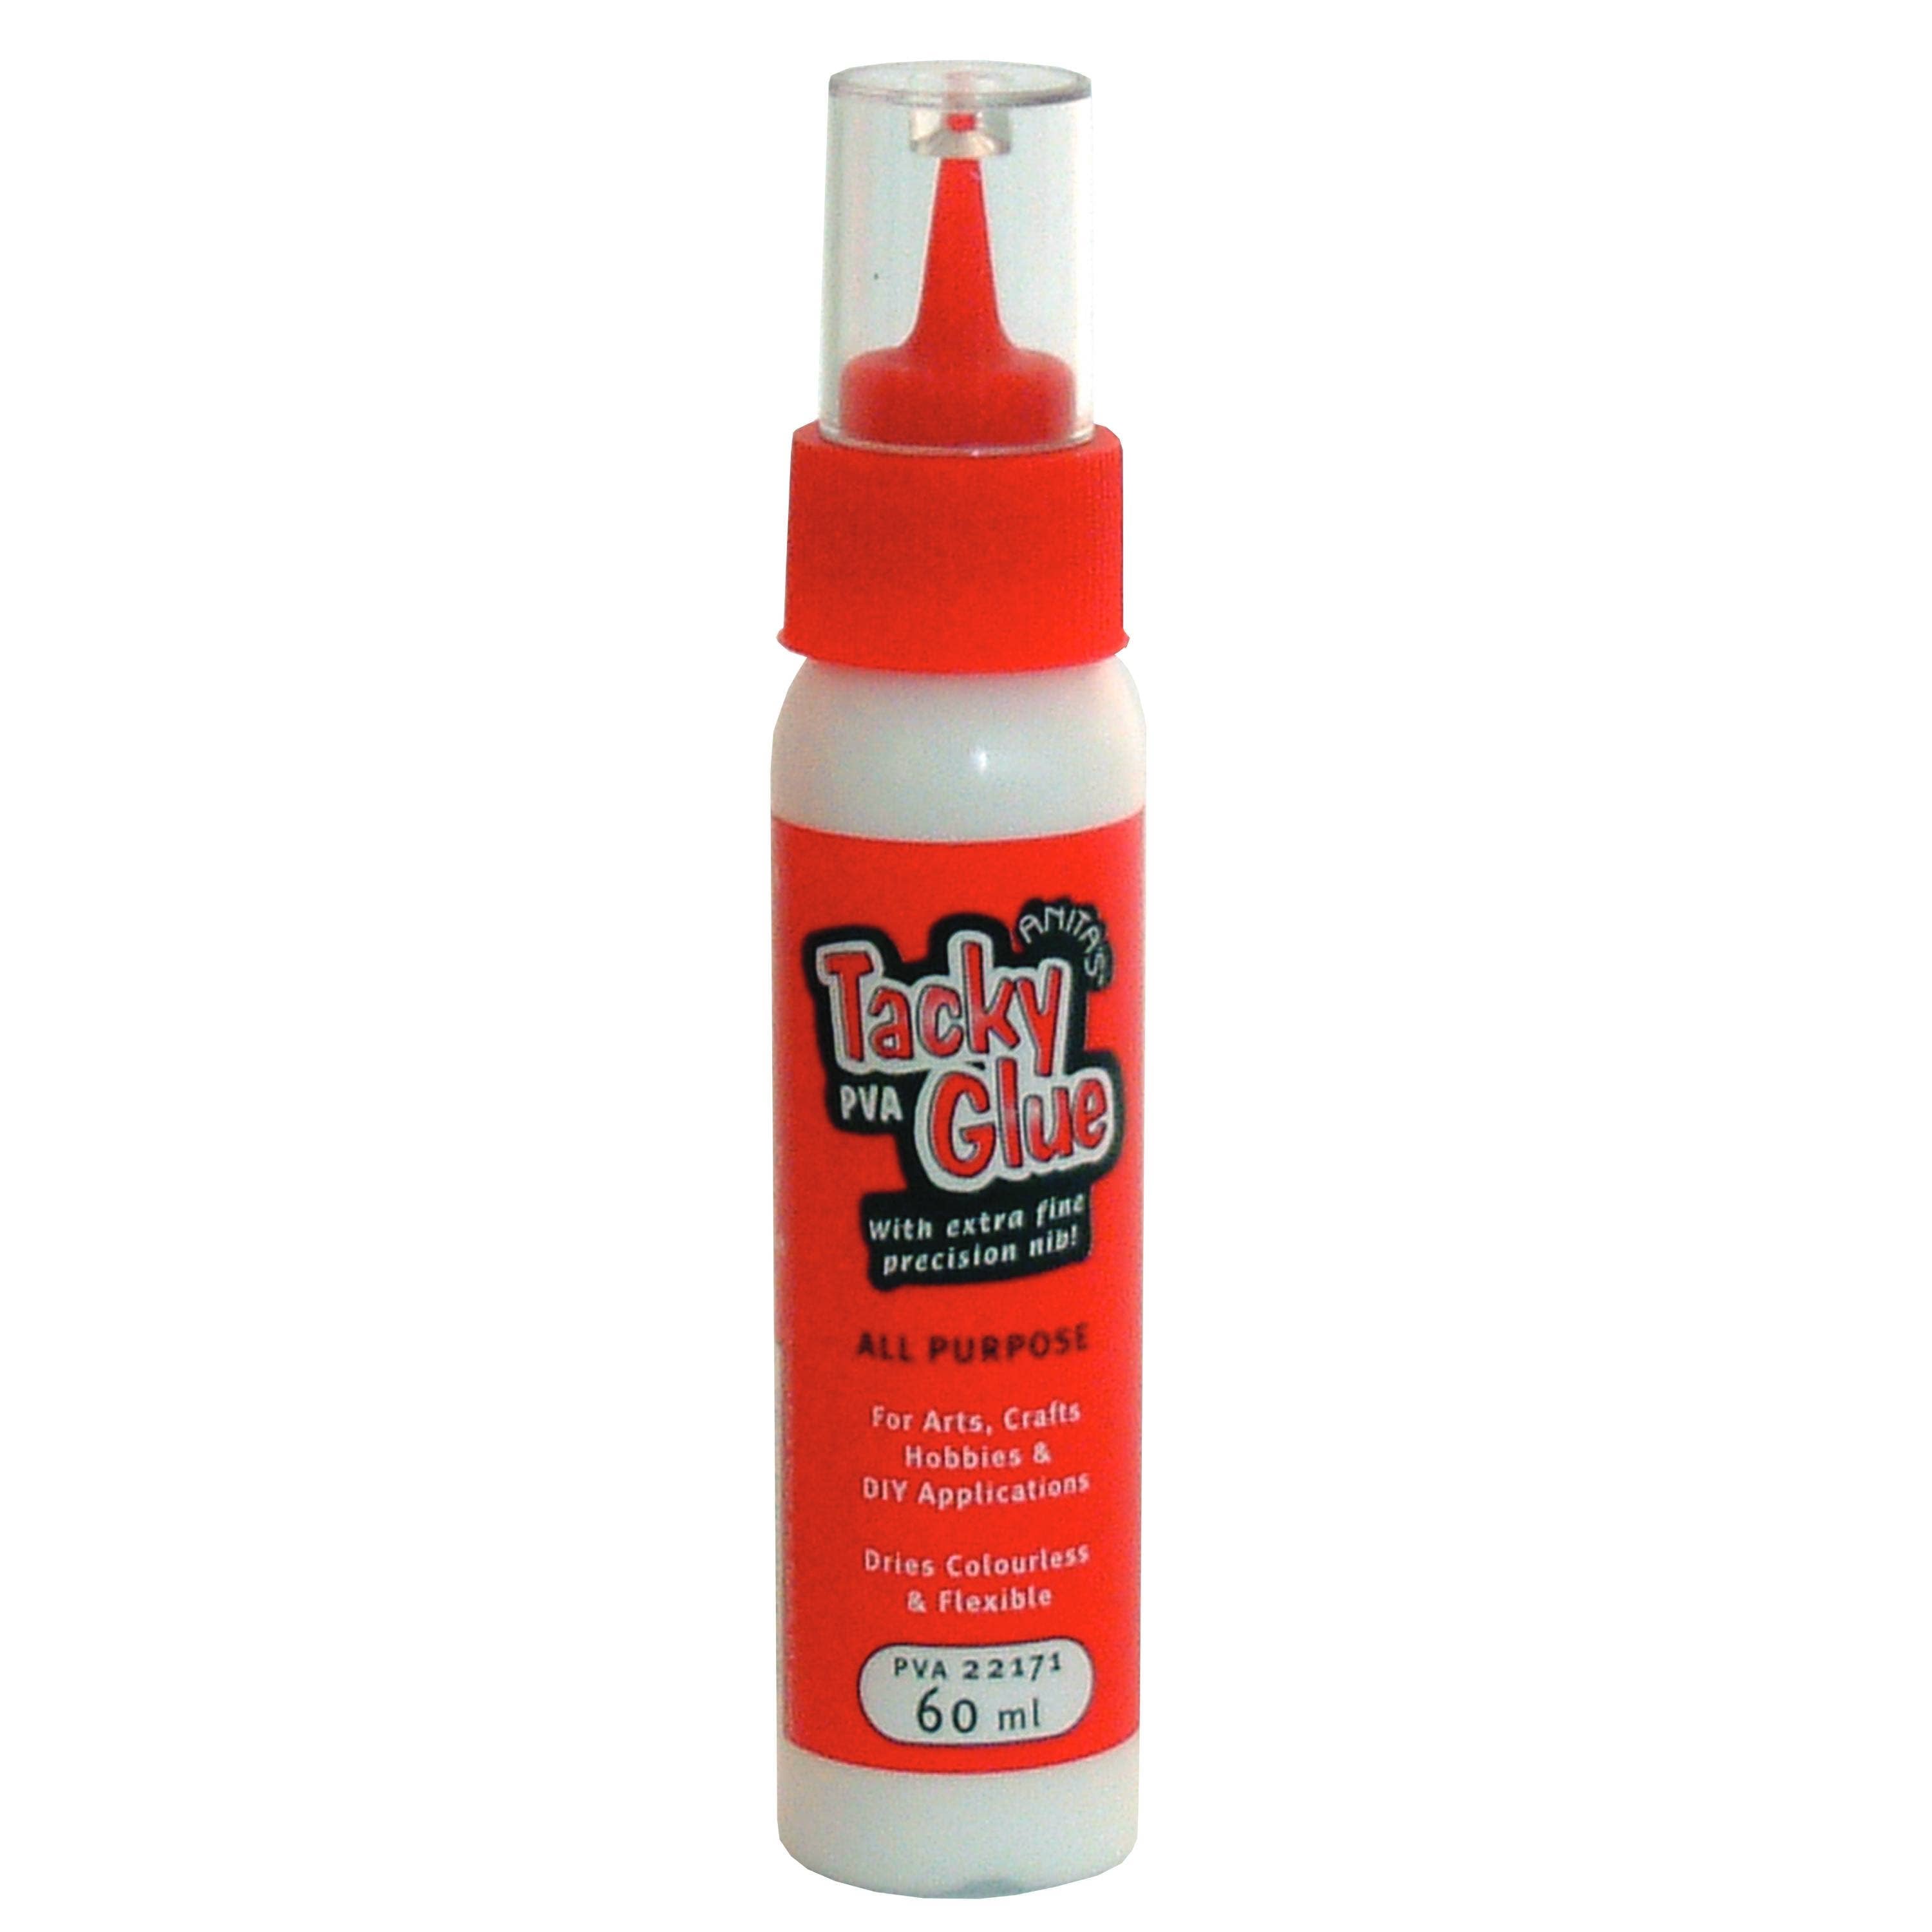
Rolife miniature kits and book nook kits come with the majority of the tools you need to assemble the model: adhesives, mini screwdriver, tweezers, sandpaper, and the lighting kit. The only extra items you will need are batteries (specified in the product description), scissors, and sometimes a craft knife. Some kits may also suggest pliers for cutting wires or similar pieces, but we have never had a problem using strong scissors instead.
What do I do if I break a piece?
The first thing to do is not to panic. Most breaks can be easily fixed with glue (either your own or the one included in your kit) or strategically placed tape. The Rolife miniature kits and book nook kits include spares of the most easily broken (or lost) pieces that are key to building your model. Remember that when other people look at your model no one will know if a piece is slightly different. A well placed piece of furniture, an accessory, or sticker can hide most cracks or marks. If your model arrives damaged please contact us at info@littleworlds.store or via the websites contact form so that we can offer you a replacement/refund.
I'm having problems with the lighting!
One of the trickiest elements of our miniature and book nook kits is the lighting. The end result is stunning, but sometimes the journey can be challenging. The most common issue people have is with connecting the ends of the included wires and there are a couple of ways to approach this issue.
Firstly, I recommend connecting the wires with the lights switched on. This allows you to see if the wires are attached properly before you commit to sealing them together. The easiest way to connect the wires depends on the type of exposed end.
The first type is a solid, single piece of wire. In this case keep one wire end straight (this is usually better as the battery wire) and coil the other wire around the straight wire. This can be fiddly but if you secure the second wire's tip firmly coiling should not be too difficult. From there you can seal the connection with either the included electrical tape or heat shrink tubing (discussed below).
The second type you may come across has a frayed end with a number of different wire strands. These can be more difficult to connect together as the small strands are thin. The easiest way to twist the wires together is to hold the two wires parallel to each other and twist the ends across. This is much simpler than trying to twist the wires end to end, but will mean that they are sealed at an angle to the rest of the wire. If twisting the wires is proving difficult then another way to connect them is to stick one wire to the electrical tape and then lay the other wire on top, wrapping them and sticking them in position. This method is simple, but it is important to be careful when wrapping to ensure the wires stay touching. If the wires move when the tape is sealed it can be very difficult to unwind and remove, although sometimes a squeeze or wiggle might be all it needs to get the wires back into position.
Heat Shrink Tubing
Some of the Rolife miniature kits and book nook kits come with heat shrink tubing to seal the connections between wires. As the name suggests, this tubing shrinks when heat is applied to it. The most efficient way to do this is with a heat gun, but most people don't have these at home. When assembling our models we used a hairdryer to apply heat to the tubing. This method will take longer than a heat gun, but saves you having to go out and buy one. Simply place the end of the hairdryer close to the tubing and wait. Make sure to turn over the wires occasionally so that the different sides of the tubing are warm enough to shrink, and eventually you will have a tightly fitting tube around the wire connection. Please remember to cover your hands or keep them out of the hairdryers heat!
I'm having trouble fitting these pieces together!
The pieces in our kits are designed to fit together snuggly and securely and this sometimes can make it tough to push them together. This is especially true when the pieces have a painted coating or paper stuck to it, as the paint/paper will make the piece slightly wider. Each miniature kit and book nook kit comes with sandpaper to smooth down the edges of pieces and this can be used to remove excess from a tightly fitting pieces. Often it only takes a few seconds of sanding to take enough material off for the piece to fit properly.
Extra Tools
If you purchase one of the Rolife miniature kits or book nook kits you will receive some basic tools and adhesives you need to assemble your model. As an experienced builder, I have some recommendations for other useful tools and ways to upgrade the ones that come included in the kit.
Double-Sided Tape
Some kits will come with double-sided tape either instead of or alongside glue, but I like to keep my own reels on hand whatever set I'm building. I prefer to use tape when sticking paper, as there is no need to worry about applying too much glue and making the paper damp (which can lead to ripping). I use both a thicker and a thinner tape depending on the size of the piece. Tape is also useful for sticking two flat surfaces together e.g. when layering one piece on top of the other, and it is convenient if you don't want to wait around for glue to dry (for example if you're assembling a whole website's range of models...).
Metal Tweezers
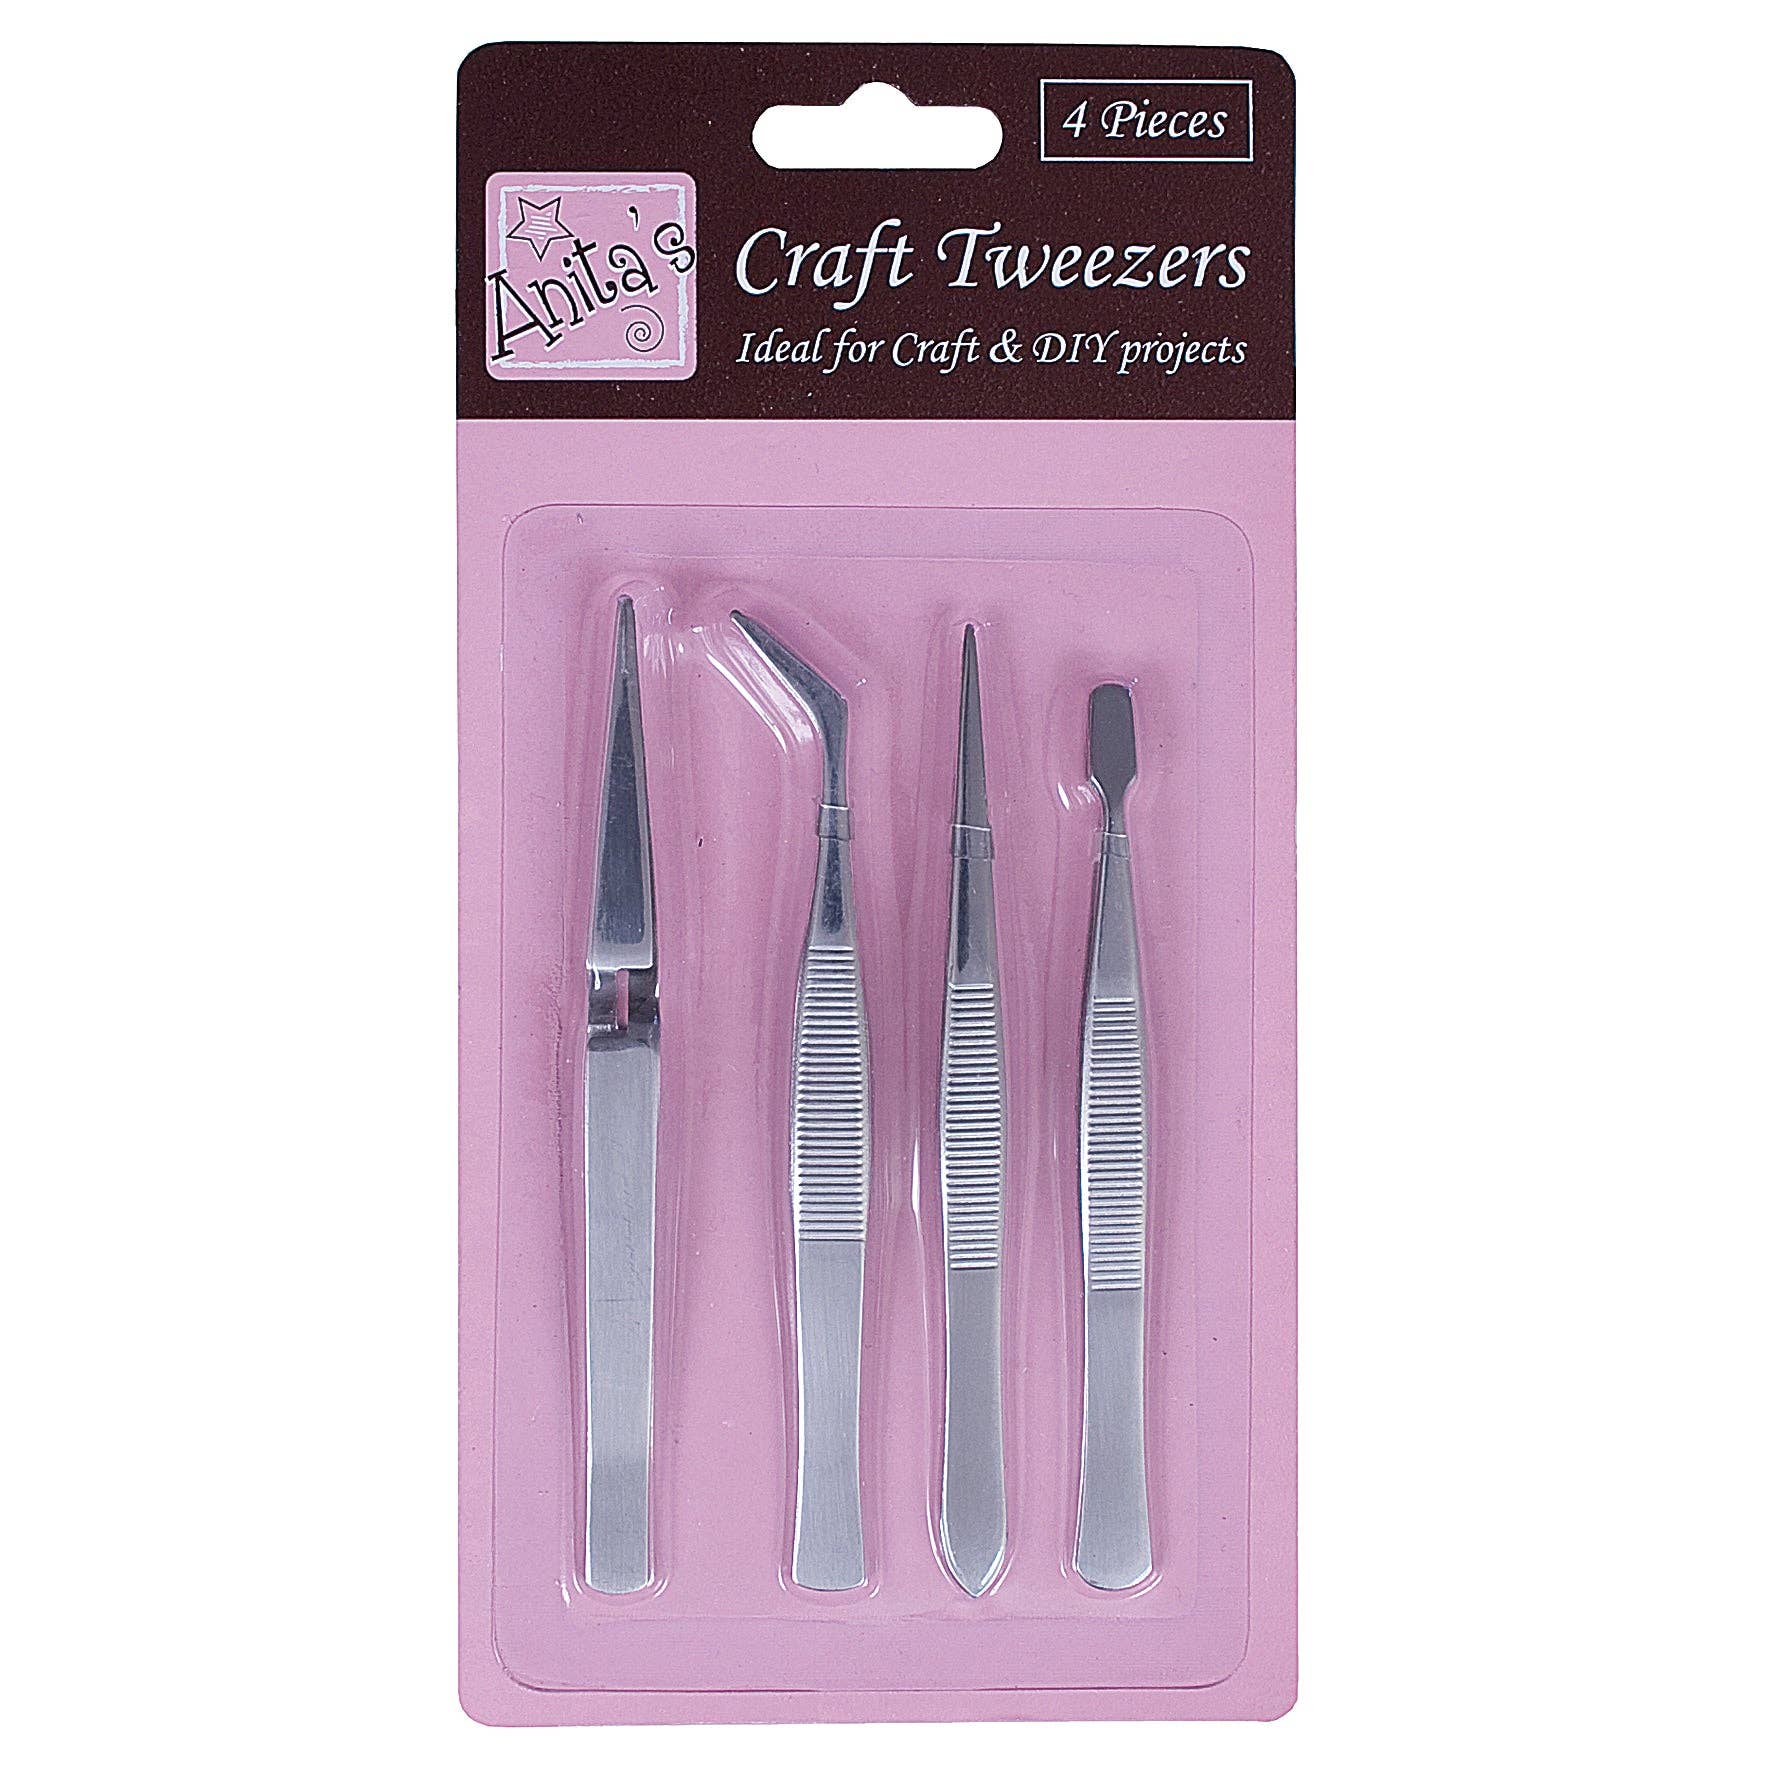
The Rolife miniature kits and book nook kits all come with a pair of plastic tweezers, but you might prefer to upgrade to a set of metal tweezers. Metal tweezers are much firmer than plastic ones, which can help press together pieces easier. The included plastic tweezers also only come in one size and for some intricate details you may find it easier to use a metal pair with a thinner or angled tip.
Small Hammer
Our miniature kits and book nook kits are designed so that their pieces fit securely and tightly together, but this means that sometimes it can take a bit of force to get them to fit. A small rubber headed hammer can help you apply more force to the pieces without causing damage like a larger metal hammer would. The compact size also makes it better for the small pieces in miniature and book nook kits.
Cutting Mat
If you are going to use a craft knife to cut out paper or pieces then a cutting mat is essential for preserving your tabletop. These mats protect from knife marks while also being a useful surface to protect against the mess from gluing or sanding. Self-healing cutting mats use a special material so that knife marks don't permanently damage the surface, keeping the mat a smooth cutting surface.


